Manufacturers of excellent quality roof lanterns and aluminium bi-folding doors

Call for a
free quote:01377 310103
Manufacturers of excellent quality roof lanterns and aluminium bi-folding doors

Call for a
free quote:01377 310103
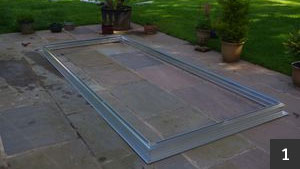
Set out the main beam as shown.
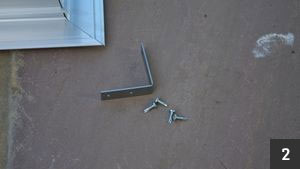
Find The brackets and screws shown, 1 bracket and 4 screws required for each corner.
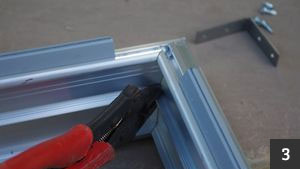
Use a set of grips as shown to hold the corner tight together.
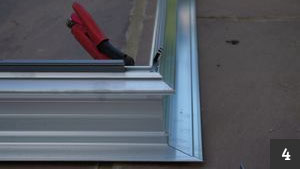
It should now look like this.
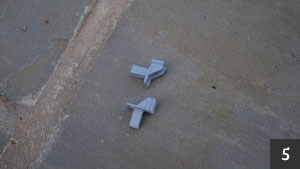
Find the following Parts, you will need 2 for each corner.
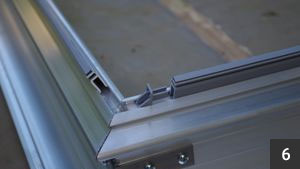
Screw on the brackets as shown with the self drilling screws provided, then place the plastic parts in the main beam as shown.
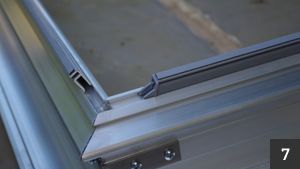
Slide them in.
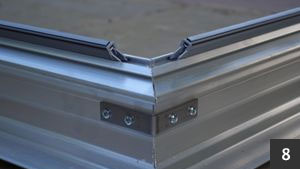
The corner should now look like this, now do the same with all the remaining corners.
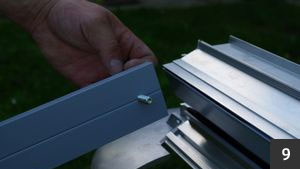
Now we prepare the ridge.
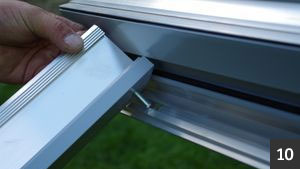
Follow the roof drawing provided and bolt the rafters to the ridge at both ends on both sides using the nuts provided with a 13mm spanner.
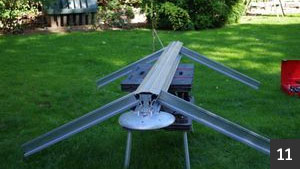
Using a tressle as shown makes this very easy to do, and it will now look like this.
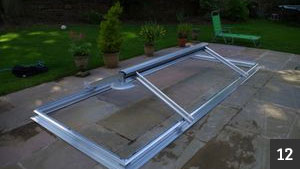
Carry the ridge to the main beam as shown and place in the correct holes, an extra pair of hands helps.
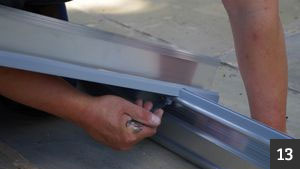
Use the nuts provided with a 13 mm spanner tighten the nuts on the main beam.
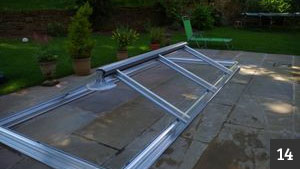
Bolt on the remaining rafters to the ridge in the same way, if your roof lantern has any.
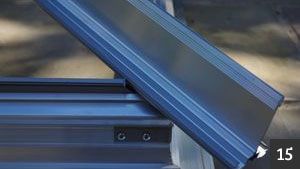
Place the corner rafters in the hole on the main beam.
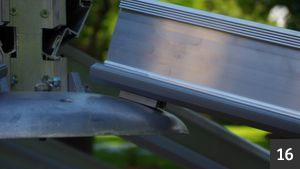
Place the corner rafter into the correct hole on the aluminium half moon on the end of the ridge.
It should now look like this.
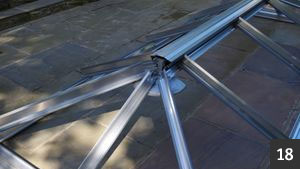
Now bolt on the remainig rafter in the middle of the two corner rafters, if your roof lantern has one.
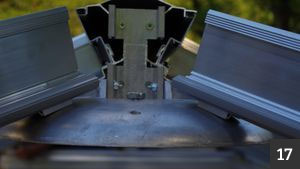
16 - Please Note: The aluminium packer sits between the rafter and the aluminium half moon as shown, not all roof lanterns require these packers, if yours does it will be on the rafter already.
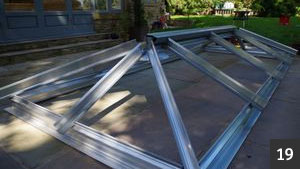
Final step, check all nuts are tight.
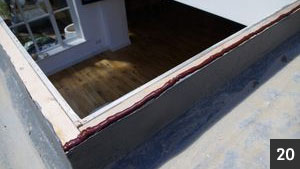
Using a silicone gun and silcone put a good line of sealant around the timber up-stand.
When you lower the roof lantern onto the silicone on the timber up-stand, move the roof lantern around and get it in the best position you can.
19 - Please Note: Your roof lantern is now built and this takes approx 30mins without rushing, and as you can see its not complicated with good instructions and we are only a phone call away for more advise and help if required.
20 - Please Note: When we installed this roof lantern 1 tube of silicone did approx 3.5m, this will help you calculate how many tubes you will need.
Any colour silicone will do, as long as it is good quality. Now Lift the roof lantern onto the timber up-stand.
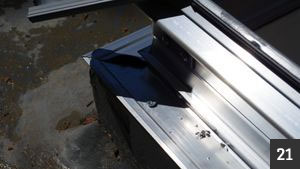
21 - Please Note: Have a look from below, this helps.
When you are happy screw the roof lantern down to the timber up-stand, drill the flat base of the aluminium main beam with a 4 mm drill and screw down with 3" x 10 wood screws all the way around, approx every 400 mm between screws.
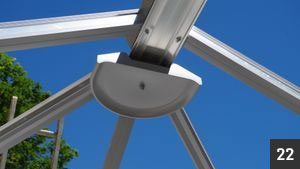
Put on the plastic half moons as show in this image, use nuts provided to hold them in place, no spanner needed, thumb tight will do. Put on the 13 mm nut covers provided.
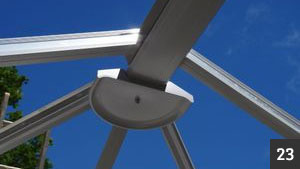
Put the plastic trim on the bottom of the ridge, this clips on at the sides very easily and can be done with your hands.
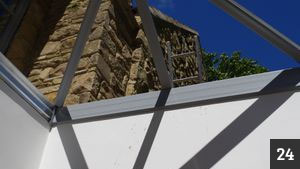
The internal fascias shown should be left off until the plaster work has been done. When you do finally put them on, put a fascia corner on both ends of the two smallest lengths and tap them on in the middle of the length only.
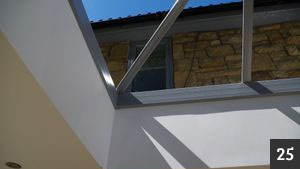
Then put on the two longest fascias, take your time they can be a bit awkward to get on.
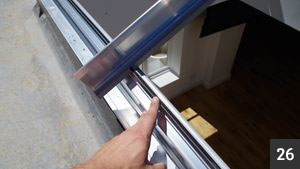
The plastic trim in the main beam between the rafter that I am pointing to has a double sided tape on top. Pull off the film, on all the peices, then your not trying to do it with glass in your hands.
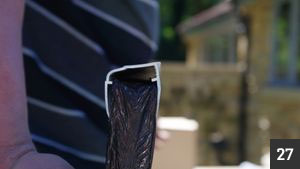
Installing the glass. All our glass units are toughned and taped, they have no sharp edges.
27 - Please Note: All the glass units have a label on them with a number that matches you roof drawing.
All labels on the glass should be on the inside of the building when installed.
In this image you can see we start by putting the glass closure on the bottom of the glass unit. The drainage holes and drip lip need to be at the same side of the glass has the label.
We have made a short video to help you understand how the glass goes in.
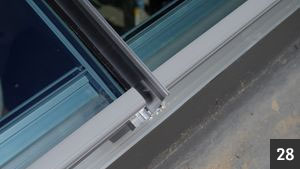
When all the glass is in, the plastic glass closures on the end of the glass should all be in a line all the way around, take a look from above.
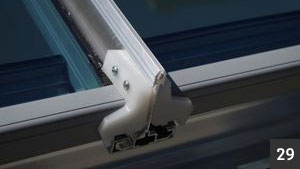
Screw on the anti-glass slip kits as shown.
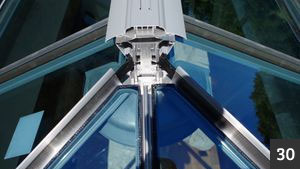
It should now be looking something like this.
28 - Please Note: As you can see they fall short of the end of the rafters by around 10 mm, it will be more on the corner rafters.
This allows room for the kits to be fitted, these stop the glass from sliding down.
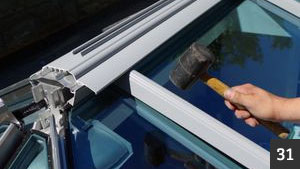
Work your way around the roof lantern tapping down the glazing caps, follow the numbers on the drawing provided. Use a rubber mallet go up and down while tapping, keep going up and down until they are all the way down.
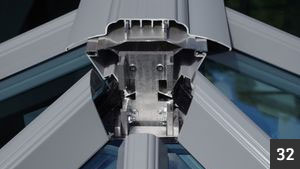
The ends of the ridge when the caps are on should look like this.
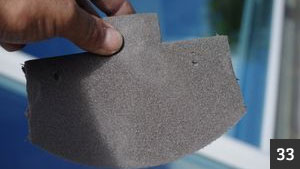
Cut the foam bungs to fit the hole in the above image.
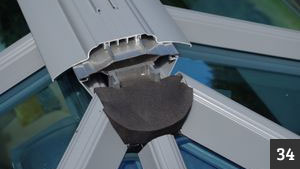
Fit the foam bung into the hole.
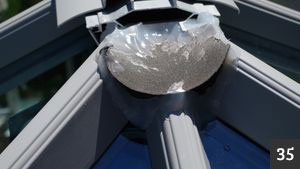
Seal the foam bung to the caps and glass, fill every gap you can see.
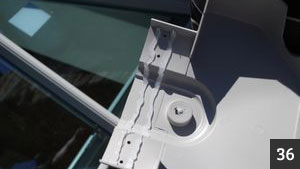
Place two lines of silicone across the top cap, before and after the screw holes as show.
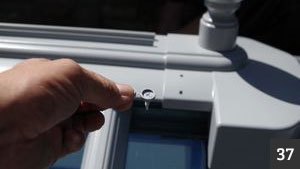
Screw the top cap down with the screws and caps provided.
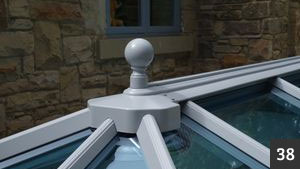
Screw in the ball finials.
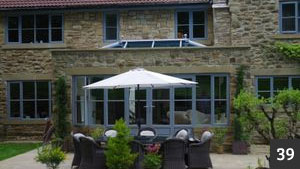
Finished Job.
37 - Please Note: The screw holes nearest to the center of the ridge will hit the aluminium, the screws are self drilling.
The outside edge screw holes will hit plastic only, do these first.
The silicone on the top cap will work its way out as you screw down the cap, wipe it off and masking tape across and put a nice neat line of sealant across, there can be no area missed or water will get underneath it.
38 - Please Note: In the middle of the ridge there is a blanking piece that runs the full length of the ridge, from ball to ball, this will arrive on the ridge but you must take it off and bond it on with sealant or it may rattle in the wind.
39 - Please Note: Our customer commented many times, he could not believe how neat the roof system was, how well it looked, and the said quality he got for his money he could not believe.
For a FREE no obligation quote, or advice, contact us today on 01377 310103